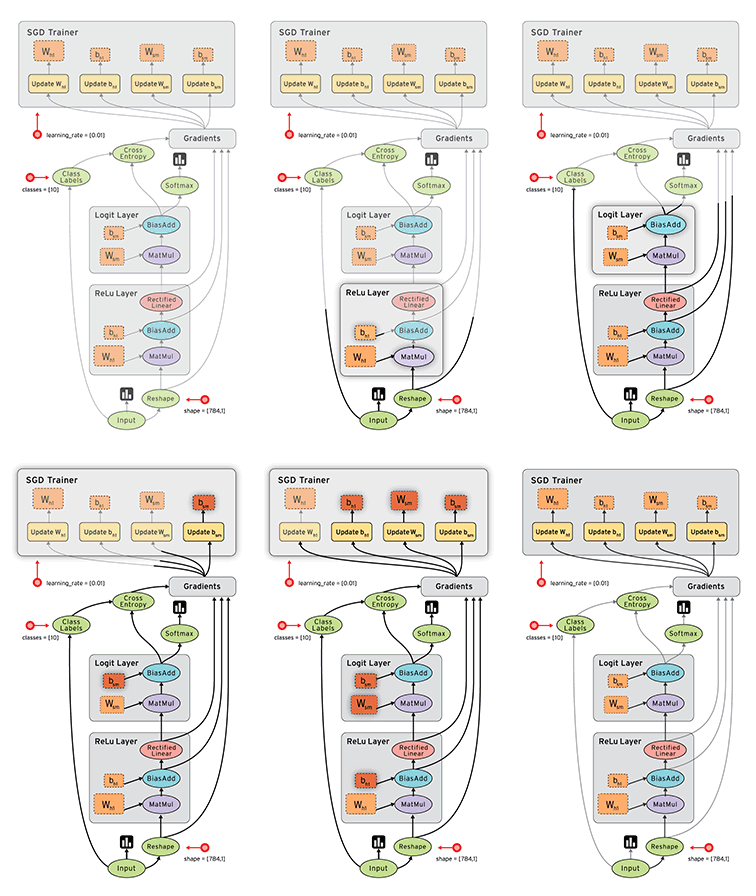
上一讲解读了TensorFlow的抽象编程模型。这一讲,我们上手解读TensorFlow编程接口和可视化工具TensorBoard。
TensorFlow支持C++和Python两种接口。C++的接口有限,而Python提供了丰富的接口,并且有numpy等高效数值处理做后盾。所以,推荐使用Python接口。
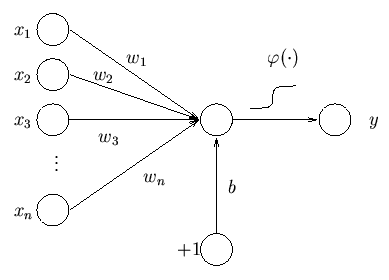
接下来,我们手把手教大家用Python接口训练一个输入层和一个输出层的多层感知器(MLP),用来识别MNIST手写字数据集。首先我们导入tensorflow库,下载文件到指定目录。
import tensorflow as tf
from tensorflow.examples.tutorials.mnist import input_data

# Download and extract the MNIST data set.
# Retrieve the labels as one-hot-encoded vectors.
mnist = input_data.read_data_sets("/tmp/mnist", one_hot=True)
其中read_data_sets()方法是tensorflow例子程序中提供的下载MNIST数据集的方法,直接使用就可完成数据下载。
接下来,我们需要注册一个流图,在里面定义一系列计算操作:
graph = tf.Graph()
# Set our graph as the one to add nodes to
with graph.as_default():
    # Placeholder for input examples (None = variable dimension)
    examples = tf.placeholder(shape=[None, 784], dtype=tf.float32)
    # Placeholder for labels
    labels = tf.placeholder(shape=[None, 10], dtype=tf.float32)

    weights = tf.Variable(tf.truncated_normal(shape=[784, 10], stddev=0.1))
    bias = tf.Variable(tf.constant(0.05, shape=[10]))
    # Apply an affine transformation to the input features
    logits = tf.matmul(examples, weights) + bias
    estimates = tf.nn.softmax(logits)
    # Compute the cross-entropy
    cross_entropy = -tf.reduce_sum(labels * tf.log(estimates),
    reduction_indices=[1])
    # And finally the loss
    loss = tf.reduce_mean(cross_entropy)
    # Create a gradient-descent optimizer that minimizes the loss.
    # We choose a learning rate of 0.05
    optimizer = tf.train.GradientDescentOptimizer(0.05).minimize(loss)
    # Find the indices where the predictions were correct
    correct_predictions = tf.equal(tf.argmax(estimates, dimension=1),
    tf.argmax(labels, dimension=1))
    accuracy = tf.reduce_mean(tf.cast(correct_predictions,
    tf.float32))
其中
graph = tf.Graph()
# Set our graph as the one to add nodes to
with graph.as_default():
这两句是定义流图并且,开始声明流图中的计算操作。 继续阅读深度理解TensorFlow框架,编程原理 —— 第二讲 编程接口和可视化工具TensorBoard


